


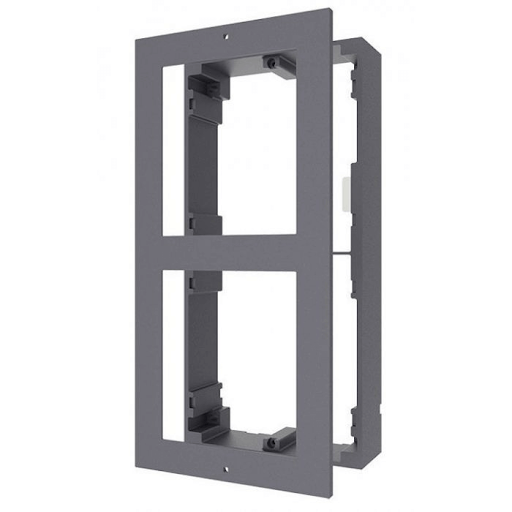
Rain Shield of Module Door Station
- Adapts to three-module surface mounting with protective shield.
-
- General
- Working Temperature-40° C to +60° C (-40° F to 140° F)
- Working Humidity10% to 95%
- 702.3g
- Dimension (W × H × D)325.8x 116.4×58 mm (12.83" x 4.58" x 2.28")
- Installation
1. Paste the installation Sticker 1 onto the wall. Make sure the sticker is placed leveled via measuring with the gradienter.
Drill 4 holes align to the screw holes on the sticker.
The suggested size of hole is 6 (diameter) × 25 (depth) mm.
2. Remove the sticker and insert the expansion sleeves into the screw holes.
Fix the mounting frame and protective shield onto the wall with 4 expansion bolts.
Thread the module-connecting lines across the thread holes of the frame.
Pass the main unit connecting lines across the thread hole to the top grid.
Connect the cables and module-connecting line 1 to the corresponding interfaces of the main unit, then place the main unit into the upper grid.
Connect the other end of the module-connecting line1 to the input interface of the sub module. Connect two sub modules via module-connecting line 2.
Organize the line with cable tie in the package.
3. Insert the modules in to the frame after wiring. Main unit must be placed in the top grid.
4. Use the hexagon wrench in the package fix the cover onto the frame.
- MaterialSECC


חוות דעת
אין עדיין חוות דעת.